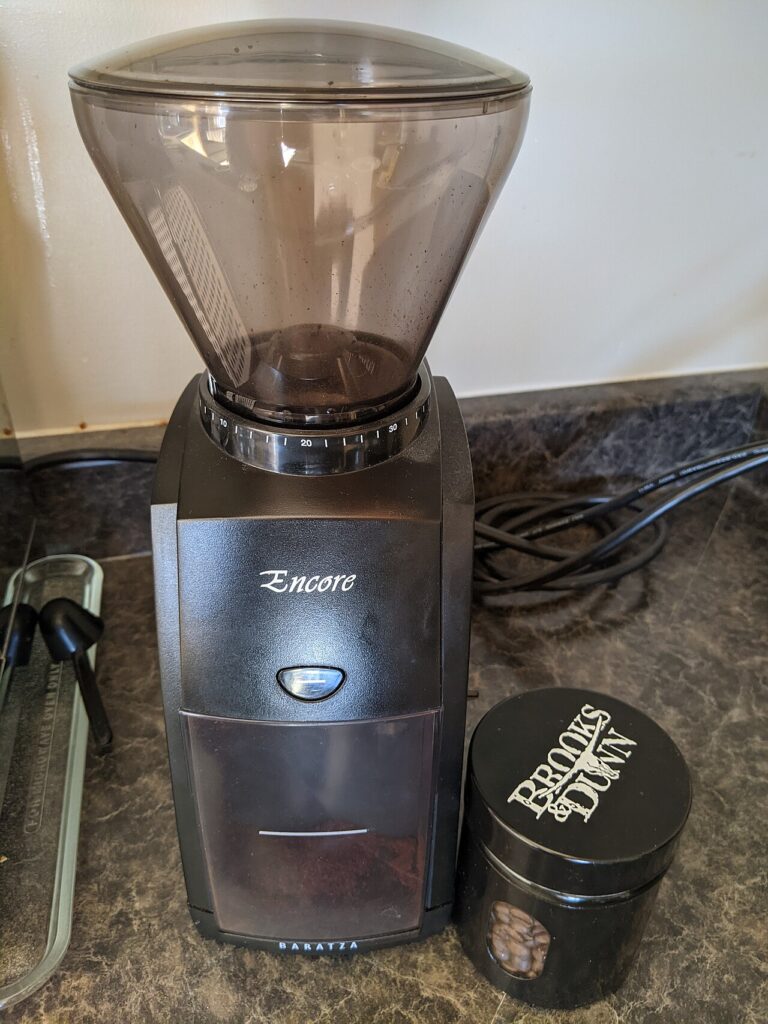

A coffee grinder should fit the brewing method and the routine around it. A manual grinder can suit a small, deliberate batch; an electric grinder can reduce repeated effort when several drinks are made. Neither description proves better flavor. Begin with the brewer you own, how much coffee you prepare, and whether you want the grinding step to be quiet, fast, portable, or adjustable.
Match the grinder to the brewer
Check the brewer’s recommended grind requirements and whether the grinder documents an appropriate adjustment range. Espresso preparation can demand different adjustment from a casual filter-coffee routine. Do not assume a grinder covers every method because its control has many numbered positions.
Look for meaningful exact-model evidence when grind consistency or adjustment precision is important. A specification-based shortlist should stay distinct from an actual brewing test.
Compare effort for the real batch size
With a manual grinder, think about the amount you will grind at one time, the hand position, and the way the unit is stabilized. A compact body travels conveniently but can require repeated filling for a larger household batch. Check the usable capacity rather than estimating it from a photograph.
An electric grinder adds a motor, power connection, and controls. That can suit repeated servings, but it also occupies counter space and introduces noise. Consider whether it stays out all day or must be taken from a cabinet before every brew.
Read the dosing and transfer details
Decide whether you want to weigh beans before grinding, fill a hopper, or use a supported dosing control. Check the grounds container, clearance, and transfer to your brewer. A workflow that spills grounds or requires awkward pouring can be frustrating even when the adjustment range looks suitable.
For a grinder intended to work with a portafilter, confirm the holder dimensions and what accessories are included. Do not transfer those features to another version with a similar name. Keep the exact model and package contents in the comparison.
Consider cleanup and service
Read the manufacturer’s permitted cleaning process and how accessible parts are. Burr removal, cleaning materials, and reassembly steps vary. Do not wash components unless the instructions explicitly allow it. Plan where loose parts will sit during cleaning.
Check the availability of model-specific service parts and support information. Breville’s documentation, for example, separates grinder models and their parts. That is a useful reminder to verify a specific replacement identifier rather than assuming a hopper or burr assembly fits an entire brand.
Choose for a repeatable morning
Compare a complete cycle: take out the grinder, measure or load beans, grind, transfer, and clean up. A manual option may fit a travel kit or one-person routine. An electric option may make repeated batches easier. The useful advantage depends on which of those steps currently causes friction.
Buy around documented brewer compatibility, manageable effort, clear maintenance, and the space you actually have. New equipment is most useful when it improves a routine you already enjoy.
Sources
Based on the manufacturer and primary-source references below, checked November 12, 2026.
Continue with our smarter shopping field guide and explore more home kitchen guides. Read our editorial policy for sourcing and corrections.